The water inflow from the outside is a common problem faced by numerous historical and newly constructed buildings. Water causes wall dampness, loosening of plaster and paint coatings, biological contamination and adverse indoor microclimate. The problem is onerous, cumbersome and costly to remove.
We can distinguish two major methods of protecting the existing buildings against water: application of the new damp proofing (in case of heritage buildings) or restoration of damaged horizontal damp proofing of the foundation walls or basement by injection (in case of modern buildings).
When restoring damaged horizontal damp proofing, one can choose from several possible solutions. We may restore it:
Injection preparations may be based on:
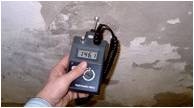
The technology of injection and recovery works with horizontal damp proofing depends on the intended technological solution, existing ground and water conditions, wall thickness, wall moisture content and ground salinity level. For this reason, it is recommended to examine the actual condition of the partition carefully – one should perform control measurements of the surface moisture and the wall salinity. They should be executed at a height of approx. 50 cm above the floor top finish level, both in case of external and internal walls. Control measurements allow us to determine the condition of the particular wall and thus we can decide which technological and technical solutions are needed. When checking the walls salinity level we adopt the largest salt content in the substrate determined during the test. If there is no national guidelines regarding the wall salinity issue, one may refer to those defined in the WTA instruction.
Determination of work technology
Based on the wall examination, performed exposures, controls of moisture and salinity in the walls, one can determine the best way to restore the horizontal damp proofing as well as the most appropriate preparation to use.
Injection preparation is introduced into the substrate with:
Execution of damp proofing with the injection method
Before we form the membrane, firstly we must hack off plasters from the interior walls up to the height of approx. 1 m above the visible moisture range. Clean the surface from dust, efflorescence, mortar residues and weakly adhering wall fragments. Carve out the masonry mortar from joints up to 20 mm deep and re-fill them with fresh cement mortar. Before the injection, we recommend filling the cracks and voids in the wall with a cement mortar.
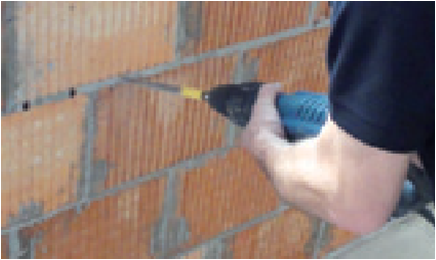
The holes intended for the introduction of the injection preparation into the wall structure should be 10-30 mm in diameter and executed in a single row (less often in two rows). The axial spacing of the holes should be 10-12.5 cm. The holes should be declined at an angle of approx. 25°. In case of thin walls, the angle may be slightly larger, whereas for thicker walls the angle should be smaller. Drilling depth should be determined so as the hole is approx. 5 cm shallower than the total wall thickness. For very thick walls (> 60 cm) we recommended drilling the holes alternately on both sides of the wall. Having drilled the holes they should be blown through with compressed air.
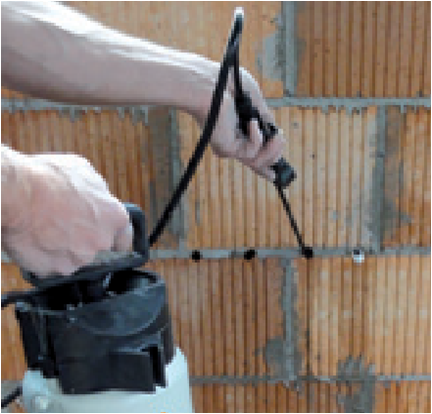
Next, one should inject the preparation into the cleaned holes. The process should run continuously with a steady pressure until an uniform horizontal damp proofing zone is formed. The injection pressure may not cause damage to the wall and rarely exceeds 3 bars. The duration of the injection process depends on the wall absorptiveness and its moisture content. Constant pressure observed in the packer indicates complete wall saturation. When the injection is finished, one should seal the holes with the mortar recommended by the manufacturer.
More on restoration of wall damp proofing: https://www.atlas.com.pl/en/produkty/grupa/127/140/144
Original text: Sebastian Czernik, ATLAS Group
English text: Piotr Marciniak, ATLAS Group


